Getting Started with Celo
Earlier today the Celo team unveiled their Alpha network, named Alfajores, at a global launch event. Leading up to this launch Unit 410 worked with Celo’s engineering team to help refine protocol parameters and test their validating software, and we’ll detail our experience deploying a testnet validator in this technical post.
Note: this is our experience with the very first public version of Celo’s software. All of this is subject to change. Refer to docs.celo.org for the latest state of Celo.
 Alfajores Cookies, the namesake of this Alphanet release. Celo chose this name after discovering the cookies during user testing in Argentina. Recipe Here!
Background
Celo’s mission to spread digital assets across the global economy requires several technical breakthroughs that we’re excited to see moving forward. In order to reach this global audience, some of the technical ground that originally got us excited about participating in the Celo protocol include:
- Scaling: Celo’s research and work towards implementing BFTree, to scale HotStuff well beyond the typical ~100 set of BFT validators into the many(+) thousands.
- Incentives: Celo incorporates relatively novel full-node incentives wherein fees are distributed to the nodes that broadcast transactions from a light client, further incentivizing performant decentralization.
- Cryptography: Celo’s BLS signature aggregation and efficient zk-SNARK verification provide additional layers of security and scalability.
- Governance: Celo’s genesis file includes a Governance contract that provides builds upgradeability into the protocol.
- Usability: Finally, Celo places an uncommon focus on usability, with mobile apps launching on day 1 and plans to tie on-chain addresses to real-world identities via phone numbers or email addresses. This introduces a number of challenges new to node operators that we’re excited to help explore.
Account Setup
Celo’s official documentation can be found at docs.celo.org and is the best place to start learning about the protocol. Most of their tutorial relies on running a Docker container that operates on a locally, bind-mounted directory to maintain state, so make sure to start with a working Docker installation.
Once Docker is running locally, our first step was to create a new address with a password to encrypt it like so:
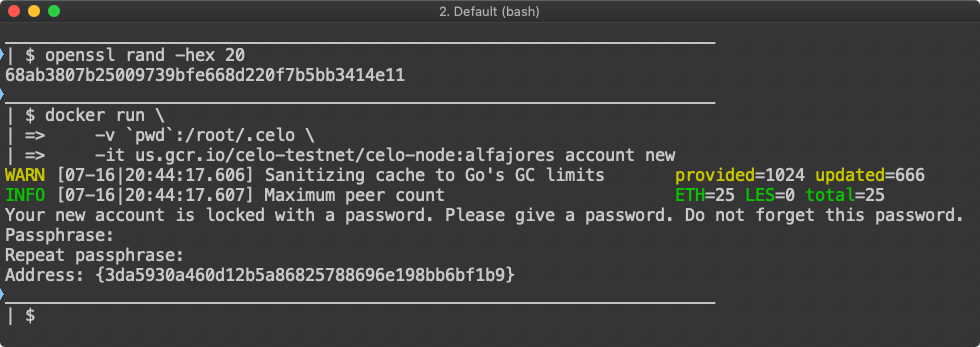 Generating our first address
This returned our new address of 3da5930a460d12b5a86825788696e198bb6bf1b9. Great! Inspecting our local directory, you’ll then find a json file that stores your private key contents in ./keystore/UTC--.... which should be securely backed up if you intend to ever use this address again. Inspecting this file returns our secret key, AES encrypted to our passphrase:
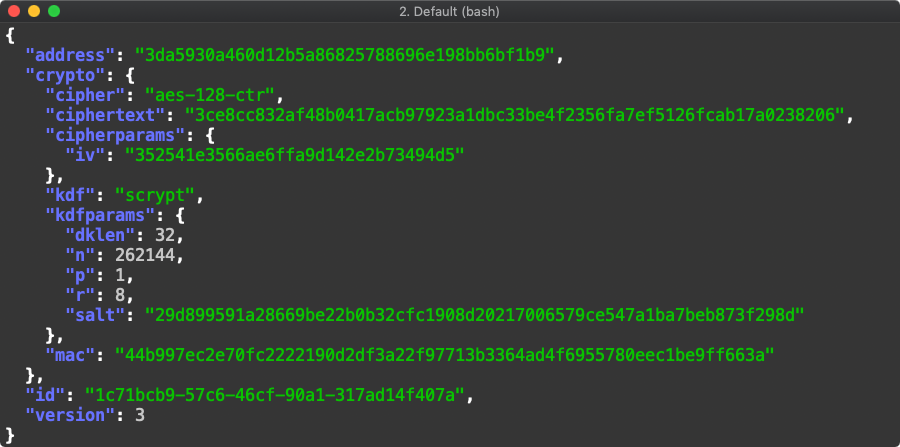 Celo Keystore file container our encrypted secret key
Now that we have an address we’d like to acquire some funds so we can start interacting with the network, which we did at the Celo Faucet. The faucet deposits 10 Celo Dollars (Celo’s USD Stable currency) and 5 Celo Gold into our newly created account.
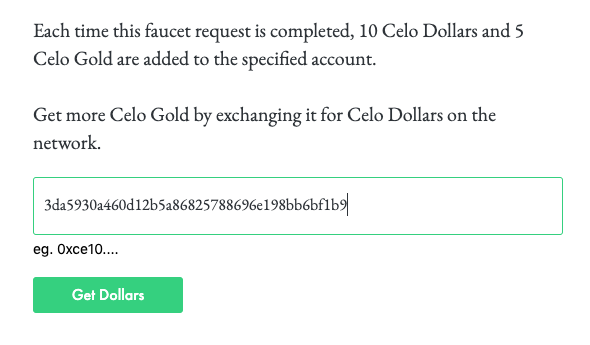 Requesting funds from the Celo Faucet
During early testing the Faucet wasn’t always online, but after a few tries we were able to successfully process a request. The real verification, though, is confirming our newly received funds on chain. For that we needed to launch our own node.
Running a Node
Following the official docs to run a full node was fast, taking about 5 minutes before we were able to get a synchronized testnet node up and running. This was expedited in part by the fact that this new blockchain has so little state yet to synchronize. To launch our node, we first needed to initialize our chain data based on the correct Genesis file. The Alfajores docker image provides the latest Genesis file, which you can inspect like so, returning the JSON file:
docker run --rm -it \
    -v $(pwd):/root/.celo \
    --entrypoint cat \
    us.gcr.io/celo-testnet/celo-node:alfajores \
    /celo/genesis.json
Inspecting the Genesis File
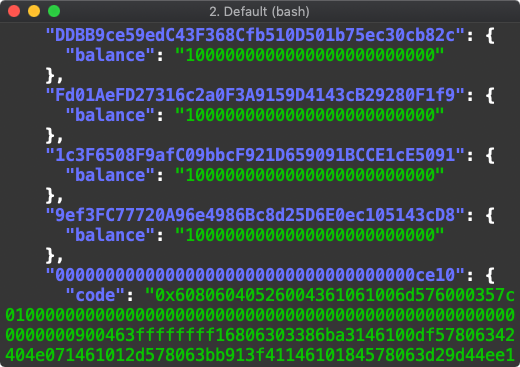 Ce10 Contract in the Genesis File
Here Celo is first allocating testnet funds in 1M Celo Gold blocks to a set of their addresses. Interestingly, you can see the Celo Governance Contract also included in the Genesis file. Much of Celo’s functionality including validator parameters, stablecoins and their reserves are managed through this and child contracts baked into the Genesis file.
We then used this Genesis file to initialize our node’s data directory, provided a set of bootstrap peers and started our node. After a few seconds, our node was successfully validating new blocks and synchronized with the head of the chain. New blocks confirmed every ~5s, which you can also verify on the network stats page. If BFTree can deliver as promised, we’re excited to see thousands of nodes continuing to process blocks at this pace in the near future.
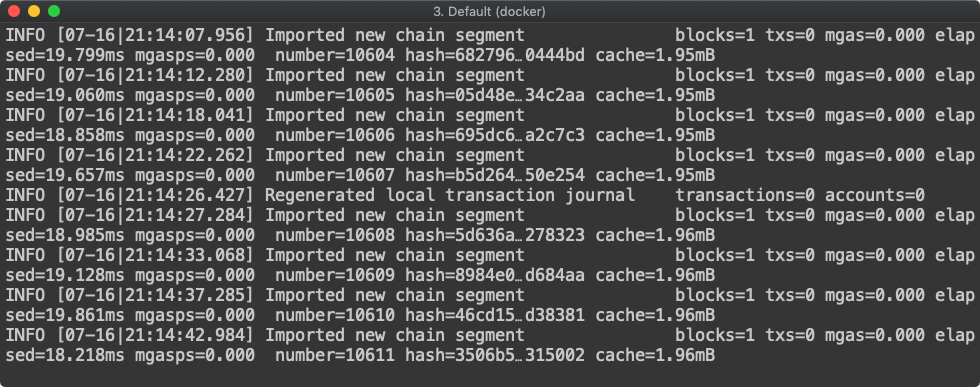 Our synchronized Celo node
Since Celo reuses part of Geth (and the EVM), we can now begin to interact with our node using Celo/Geth’s HTTP RPC endpoints as demonstrated below. Using the getBalance method, we can now verify the balance of our address like so:
curl -X POST \
    --data '{"jsonrpc":"2.0","method":"eth_getBalance","params":["0x3da5930a460d12b5a86825788696e198bb6bf1b9", "latest"],"id":1}' \
    -H "Content-Type: application/json" localhost:8545
Directly Querying Our Balance
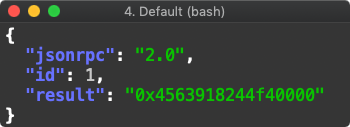 Raw balance from Celo’s HTTP endpoint
CLI Usage
To more easily interact with Celo’s blockchain, we then installed the Celo CLI. The CLI is distributed is an npm package, which first required us to downgrade from Node 12.x to the 10.x LTS series (which you can install from here), and re-alias our system Python from 3.x to 2.7. We could then install the CLI as advertised with npm install -g @celo/celocli.
With the CLI, we could now verify our balance is as expected. The returned values are denominated in Wei, so divide by 1e18 or use a wei calculator to get the expected balance of 5 Celo Gold and 5 Celo Dollars.
 Verifying our balance with the CLI
While exploring the CLI, you’ll also likely notice the built-in account:transferdollar command. Including familiar stable assets from the launch of Celo are an exciting, foundational usability feature that we’re happy to see front and center:
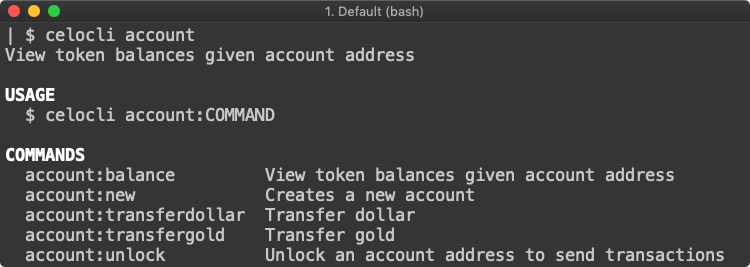 Celo Account Actions
Earning Node Rewards
To incentivize operators to run well maintained full nodes, Celo introduces a relatively new mechanism that pays light client fees to full nodes instead of validators. When a light client broadcasts a signed operation, the operation includes the identity of the broadcasting node. We haven’t received any rewards from our node yet.
Note: nodes will frequently be offline as the network evolves.
Helpful Resources
As you explore more of the Celo project, here are some resources we found particularly helpful: